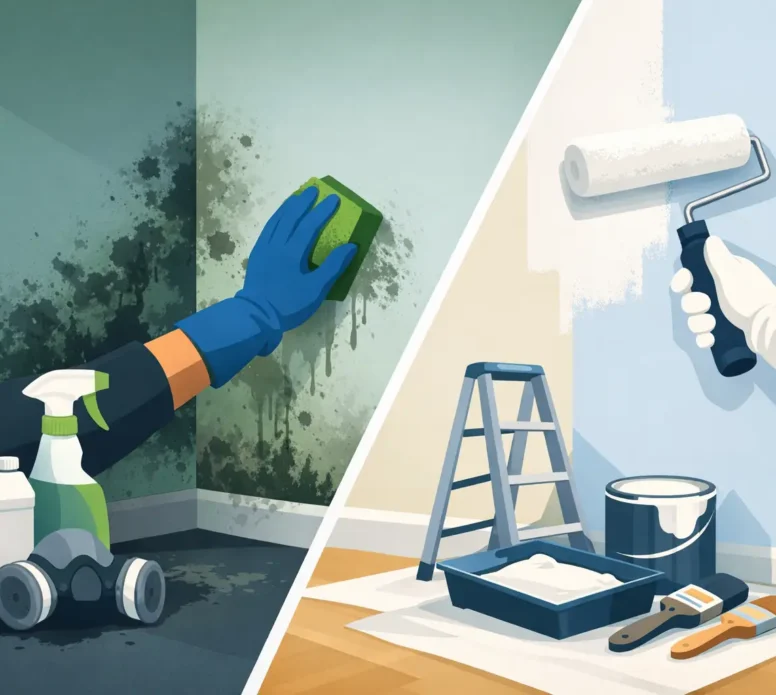
A fresh coat of paint can make a room feel new again, but it will not solve a mould problem hiding in the wall, ceiling or eaves. Proper mould remediation before painting deals with the source, the affected surface and the preparation needed for paint to hold up. Skip those steps and the staining, odour and peeling can return far sooner than anyone wants.
For homes, units and commercial properties around the Coffs Coast, moisture is often part of the bigger picture. Humid weather, shaded exterior walls, coastal exposure, poor ventilation and small leaks can all create conditions where mould takes hold. The best painting result starts with a clear assessment, not simply covering the marks.
Mould is not just a cosmetic issue. It grows where there is ongoing or repeated moisture, and that moisture can weaken the surface beneath the paint. On plasterboard, timber, masonry and previously painted surfaces, mould can leave behind residue that prevents new coatings from adhering as they should.
Painting directly over visible mould may briefly improve the appearance, particularly with a stain-blocking or mould-resistant paint. However, if active growth or dampness remains, the coating is likely to discolour, blister or peel. The mould can also continue to spread behind the painted finish, making later repairs more involved.
A sound remediation process gives the new paintwork a clean, stable surface. Just as importantly, it provides an opportunity to identify why the mould appeared in the first place. That might be as simple as improving airflow in a bathroom, or it may point to a roof leak, failed sealant, blocked gutter, plumbing issue or inadequate drainage.
Before any cleaning or painting begins, inspect the affected area and the spaces around it. The size, location and pattern of the marks often tell a useful story. Mould on a bathroom ceiling is commonly linked to steam and limited ventilation. Mould around a window may indicate condensation, a leaking frame or damaged exterior sealant. Growth on an exterior wall can be caused by shade, vegetation sitting too close to the building, poor drainage or water entering from above.
Look for these signs that there may be more than a surface-level issue:
If there is active water entry, that repair needs to come before painting. A newly painted ceiling beneath a leaking roof is not a finished job – it is a surface waiting to fail again. In strata properties, the source may also sit outside an individual lot, so timely communication with the relevant manager or committee can help prevent delays and repeated damage.
The right preparation depends on the material, the extent of the growth and whether the surface has been damaged by moisture. There is no single cleaning product or paint that suits every situation. A professional assessment helps determine whether the existing surface can be restored or whether sections need repair or replacement.
For small, localised areas on sound surfaces, the work generally begins by protecting nearby furnishings, floors and unaffected finishes. The mould is treated with an appropriate cleaning solution and removed without aggressively spreading spores or soaking the surface unnecessarily. The aim is to clean the surface thoroughly while preserving the substrate beneath it.
Porous materials need particular care. If plasterboard is saturated, crumbling, visibly distorted or affected through its depth, cleaning alone may not be enough. Removing and replacing the damaged section can be the more reliable option. The same principle applies to rotten timber, badly degraded trim or insulation affected by a significant leak.
Once the affected area is clean and dry, loose paint, failed filler and unstable material need to be removed. Sound edges are feathered back so repairs blend smoothly into the surrounding surface. Cracks, dents and minor imperfections can then be filled, sanded and prepared for primer.
This stage is where the difference between a quick cover-up and durable surface restoration becomes clear. Paint reflects light, especially on ceilings and broad interior walls. If stains, ridges, patches or poorly prepared edges are left behind, they are often more noticeable after the final coat is applied.
A surface can look dry while still holding moisture below the paint film. Rushing from cleaning to priming is one of the most common reasons mould-related paintwork fails. Drying time depends on the building material, airflow, humidity, weather and the cause of the moisture.
In some cases, fans, ventilation or dehumidification may help the area dry more consistently. Where there has been a leak or significant dampness, moisture checks and repairs should guide the schedule rather than a fixed timetable. Painting should only proceed when the surface is clean, sound and suitably dry.
After remediation and repairs, a suitable primer helps seal repaired areas and promote consistent adhesion. If staining remains after cleaning, a stain-blocking primer may be needed before the topcoats. The final paint system should match the environment – for example, a washable low-sheen finish for a bathroom wall, or a durable exterior coating for mould-prone eaves and shaded cladding.
Mould-resistant paints can be a sensible part of the system, particularly in high-humidity rooms. They are not a substitute for ventilation, leak repairs or regular maintenance. Think of them as added protection once the underlying cause has been addressed.
Homeowners can often manage light surface mould on a small, non-damaged area, provided the source is clear and the correct safety precautions are followed. Larger areas, recurring growth, water-damaged linings and mould associated with roof or plumbing leaks call for a more careful response.
Professional help is particularly worthwhile where mould is affecting high ceilings, external cladding, timber features, multiple rooms or shared strata areas. A coordinated approach can identify surface repairs, cleaning requirements, moisture-related maintenance and the paint system needed to restore the area properly.
It is also a practical choice when the property needs to remain tidy and operational. For landlords, businesses and strata managers, good site protection, clear scheduling and clean work practices reduce disruption for tenants, residents and customers while the work is completed.
Once the painting is complete, a few simple habits can protect the finish. Use exhaust fans during and after showers, open windows when conditions allow, repair leaks promptly and keep furniture slightly clear of cold external walls where condensation is common. Outside, keep gutters clear, trim vegetation away from walls and check that downpipes and drainage move water away from the building.
For coastal homes, regular washing of exterior surfaces also helps remove salt, dirt and organic build-up that can hold moisture against paintwork. Shaded walls, soffits, eaves and sheltered verandah areas deserve extra attention, particularly after long wet periods.
A quality paint job should make a property look cared for, but it should also be built on preparation that protects the surface underneath. Harbour Painting Solutions approaches mould-affected paintwork by addressing the condition of the surface first, then applying a finish designed to last.
If mould has appeared before your next painting project, treat it as useful information from the building. Resolve the moisture, prepare the surface with care and give the new coating the clean, dry foundation it needs.