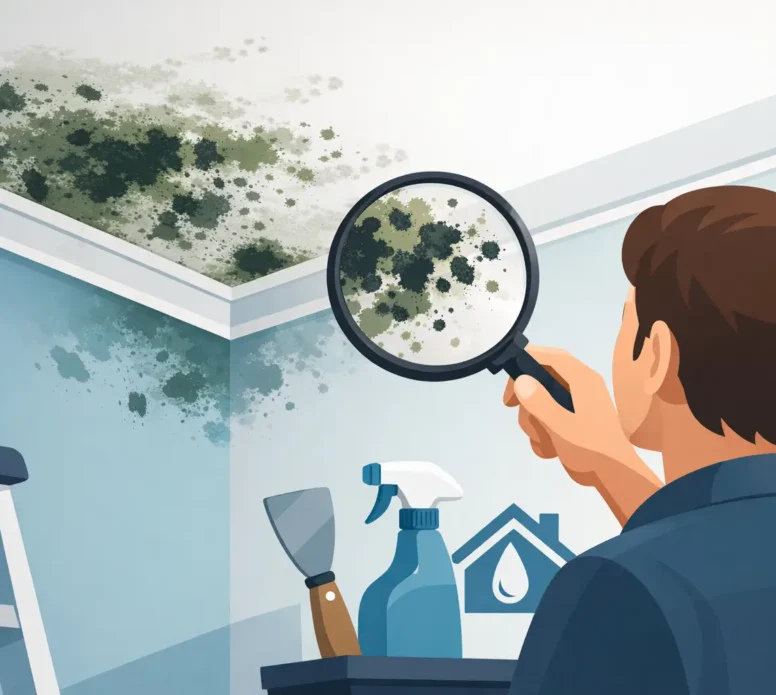
A few scattered dark spots above the shower can look like a cleaning job. But when mould returns after you have wiped it away, spreads across a ceiling corner, or appears alongside peeling paint, it is telling you something about the room’s moisture levels. So, can mould damage painted ceilings? Yes. Mould can stain and break down the paint film, while the moisture allowing it to grow may also damage the surface beneath.
The good news is that not every mould mark means a ceiling needs replacing. The right response depends on whether the growth is limited to the paint surface or whether there are signs of an ongoing leak, poor ventilation, or deteriorating plasterboard. Addressing the cause before repainting is what protects the finish and helps stop the problem returning.
Mould needs moisture, a food source and time. Painted ceilings can provide enough surface dust and organic residue for mould to establish, particularly in bathrooms, laundries, kitchens and bedrooms with limited airflow. In Coffs Harbour’s humid coastal conditions, condensation can also be enough to trigger growth on cooler ceiling areas.
At first, mould may leave grey, black, greenish or brown spotting. These marks can be stubborn because they sit within tiny imperfections in the paint rather than simply on top of it. If left untreated, mould can dull the sheen, discolour the coating and contribute to paint that becomes patchy, soft or flaky.
Mould itself is not always the main cause of serious physical damage. The bigger concern is persistent moisture. Water entering through a roof, plumbing line, failed bathroom waterproofing, or condensation that never properly dries can weaken plasterboard, affect ceiling joints and cause staining that pushes through fresh paint. A ceiling that is sagging, bubbling, crumbling or noticeably soft needs more than a coat of paint.
It can, but the extent varies. Surface mould caused by occasional condensation may be cleaned and managed with better ventilation, provided the paint remains sound. A repeated or widespread issue is different. It may indicate a moisture source that is affecting the ceiling lining, framing or insulation above.
Watch for a yellow-brown water stain, circular tide marks, peeling or blistered paint, cracked cornice joints, or a ceiling that feels damp after rain. These signs point more strongly to water ingress than ordinary bathroom humidity. In that situation, cleaning the visible mould without finding the source only hides the warning sign for a while.
For strata properties, it is particularly useful to report suspected roof or plumbing leaks early. The source may sit above a unit, in a common area, or within building services that require coordinated investigation. Clear photos, notes on when the marks first appeared and whether they worsen after rain can help move the repair process along.
Fresh ceiling paint can make a room look better for a short time, but it cannot correct active mould or trapped moisture. If mould spores and staining remain on an inadequately prepared surface, the new coating may fail to adhere properly. Dark marks can also bleed back through lighter paint, especially on ceilings finished in white.
There is another practical issue: paint can seal in moisture temporarily. Where the substrate has not dried properly, this can lead to bubbling, blistering or early peeling. That means the room may need repainting again much sooner than expected.
A durable repaint begins with diagnosis. Is the room producing too much steam? Is the exhaust fan underperforming or not venting effectively? Has a roof leak occurred after recent weather? Is there a plumbing issue in the roof cavity? Once the moisture source is corrected and the affected area has fully dried, the surface can be properly cleaned, repaired, sealed where necessary and repainted.
Small, localised spots on an otherwise dry and sound painted ceiling can often be dealt with carefully. This is most common around a bathroom exhaust fan, near an external corner, or above a shower where steam regularly collects.
Before cleaning, make sure the room is ventilated and wear suitable gloves, eye protection and a mask. Avoid dry brushing or sanding mould, as this can disturb spores and spread residue through the room. Use a cleaning method suitable for the existing paint finish, test it in an inconspicuous area first, and follow the product instructions closely. The ceiling should then be allowed to dry thoroughly.
If the paint is intact and the mould does not return after the ventilation issue is addressed, repainting may not be needed straight away. A more washable, mould-resistant ceiling coating can be worthwhile at the next repaint, especially in a bathroom, laundry or poorly ventilated room.
Cleaning is not the right approach if the affected area is extensive, the ceiling lining is damaged, there is a strong musty smell, or anyone in the household is particularly sensitive to mould exposure. In those cases, a professional assessment helps prevent a cosmetic fix from becoming a recurring maintenance problem.
Professional ceiling restoration is mostly about the preparation that happens before the roller comes out. After the moisture issue is resolved, the ceiling needs time to dry completely. Damaged plasterboard, loose paint and compromised jointing materials should be repaired or replaced, not painted over.
The remaining surface is cleaned to remove mould residue, dirt and contaminants. Any flaking edges are feathered back, repairs are sanded smooth, and stains are treated with an appropriate sealer where required. This step matters because standard ceiling paint alone may not block old water staining.
Only then is the ceiling ready for a suitable undercoat and topcoat system. The best product choice depends on the room, surface condition and desired finish. Bathrooms and laundries need a coating that stands up well to humidity and routine cleaning, while living areas may call for a low-sheen ceiling finish that gives a clean, even appearance.
A careful repaint should blend repaired areas into the surrounding ceiling and leave clean lines around cornices, vents and light fittings. It is a small detail that makes a big difference in rooms where natural light highlights every patch and roller mark.
A painted ceiling stays cleaner when moisture is removed quickly rather than allowed to settle. In bathrooms, run the exhaust fan during showers and leave it on long enough afterwards to clear steam. Open windows where practical, and keep shower doors or windows open after use so surfaces can dry.
For kitchens and laundries, use extraction when cooking or drying clothes indoors. Check that ceiling exhaust fans are clean, operating properly and venting as intended. A fan that makes noise but moves very little air will not do much to control humidity.
It also helps to keep an eye on roof maintenance, plumbing fittings and air-conditioning drainage. A small leak above a ceiling can go unnoticed until staining or mould appears below. Early repairs are usually less disruptive than waiting for the plasterboard to soften or sag.
In older homes, some rooms may have limited insulation, ventilation or original exhaust systems that no longer suit how the home is used. Improving airflow can be just as valuable as repainting. The aim is not simply to make the ceiling look fresh, but to give the new coating a dry, stable surface to protect.
It is time to call in help when mould keeps returning, appears after rain, covers a large area, or is accompanied by water staining, peeling paint or ceiling movement. These symptoms need a closer look at the building rather than another quick clean.
Harbour Painting Solutions can assess the condition of affected painted surfaces and carry out the preparation, repairs and repainting needed once the moisture issue has been identified. For homes, rentals, strata buildings and commercial properties, a well-planned repair protects presentation while avoiding the frustration of repainting the same ceiling again.
A clean ceiling should stay clean. If mould is making its way back, treat it as a prompt to investigate the moisture behind it – then restore the surface properly for a finish that lasts.